A Quick Guide To Column Widget In Flutter – Hupen Design

A Quick Guide To Column Widget In Flutter – Hupen Design

A Quick Guide To Column Widget In Flutter – Hupen Design
Published At By Hupen Pun

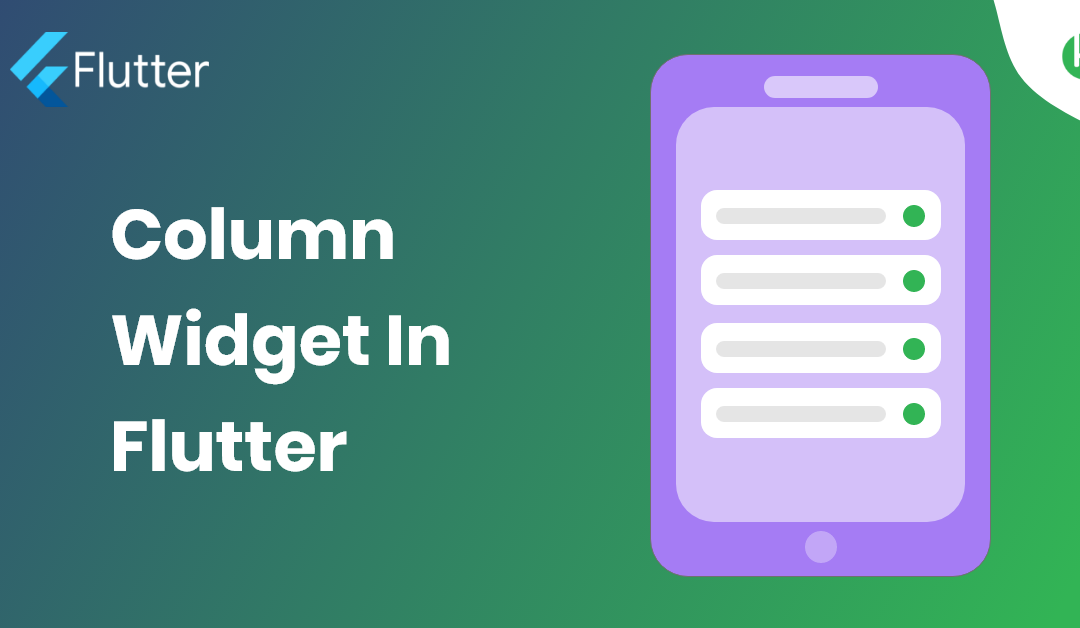
The Column widget in Flutter is a flexible layout widget that is used to arrange child widgets vertically. It is one of the most basic and commonly used widgets in Flutter and is an essential tool for building responsive and attractive user interfaces. In this blog post, we will explore the basics of using the Column widget in Flutter and show you how to create and customize it for your app.

To create a Column widget in Flutter, simply wrap the child widgets you want to display in a Column widget. For example:

Column(
  children: [
    Text('Column Item 1'),
    Text('Column Item 2'),
    Text('Column Item 3'),
  ],
)

In the above example, we are creating a Column widget with three child Text widgets. The child widgets will be displayed vertically, one after the other.

The Column widget provides several properties that you can use to customize its appearance and behavior. For example, you can use the crossAxisAlignment property to control the alignment of the child widgets in the cross axis. For example:

Column(
  crossAxisAlignment: CrossAxisAlignment.center,
  children: [
    Text('Column Item 1'),
    Text('Column Item 2'),
    Text('Column Item 3'),
  ],
)

In the above example, we are using the crossAxisAlignment property to center the child widgets in the cross axis.

You can also use the mainAxisAlignment property to control the alignment of the child widgets in the main axis. For example:

Column(
  mainAxisAlignment: MainAxisAlignment.spaceBetween,
  children: [
    Text('Column Item 1'),
    Text('Column Item 2'),
    Text('Column Item 3'),
  ],
)

In the above example, we are using the mainAxisAlignment property to distribute the space evenly between the child widgets in the main axis.

In conclusion, the Column widget in Flutter is a simple and flexible layout widget that is essential for building responsive and attractive user interfaces. With the ability to customize its appearance and behavior, it makes it a great option for creating engaging and interactive experiences in your app.

You can have in detail information on the SnackBar widget in this official Flutter Channel.

A Quick Guide To Snack Bar In Flutter – Hupen Design

A Quick Guide To Snack Bar In Flutter – Hupen Design

A Quick Guide To Snack Bar In Flutter – Hupen Design
Published At By Hupen Pun

Snackbars are a lightweight and convenient way to provide feedback to users in Flutter. They are short messages that appear at the bottom of the screen and disappear automatically after a short duration. Snackbars are used to show short, non-interruptive, and temporary messages.

To create a snackbar in Flutter, you need to import the Scaffold widget from the flutter material library and use the Scaffold.of method to access the nearest scaffold in the widget tree.

Here’s how you can create a basic snackbar in Flutter:

void showSnackbar(BuildContext context, String message) {
  Scaffold.of(context).showSnackBar(
    SnackBar(
      content: Text(message),
    ),
  );
}

In this code, we import the Material library and then create a function named showSnackbar that takes in a BuildContext and a String message as its parameters. In the function body, we use the Scaffold.of method to access the nearest scaffold and call the showSnackBar method on it. We pass in a SnackBar widget that contains a Text widget with the message passed in as its content.

You can call this function anywhere in your Flutter code to show a snackbar with the given message.

The SnackBar widget also accepts a few optional properties, such as:

The SnackBar widget also accepts a few optional properties, such as:

  • duration: The amount of time the snackbar should be displayed on the screen before disappearing.
  • backgroundColor: The background color of the snackbar.
  • action: A button that the user can press to take an action related to the snackbar message.

Here’s an example of how to use these properties:

Scaffold.of(context).showSnackBar(
  SnackBar(
    duration: Duration(seconds: 2),
    backgroundColor: Colors.blue,
    content: Text(message),
    action: SnackBarAction(
      label: 'Undo',
      onPressed: () {
        // Do something when the user presses the undo button
      },
    ),
  ),
);

In this example, we set the duration to 2 seconds, the backgroundColor to blue, and include an action with a label of “Undo” and an onPressed callback that will be triggered when the user presses the undo button.

Snackbars are a great way to provide feedback to users in a non-intrusive manner. They are easy to implement and customize, making them a popular choice for many Flutter developers.

You can have in detail information on the SnackBar widget in this official Flutter Widget Of The Week from Google Flutter Team.